Importing Wordpress Content

Step One
In your Home Menu, select “settings”

Step Two
Choose the “Advanced” option in Settings

Step Three
Select the “Import/Export” option in Advanced.

Step Four
Click the “Import” button

Step Five
Choose “Wordpress” from the options

Step Six
Fill in the login details and URL and click “begin import”
Follow the instructions on the screen after that to finish the process.
Method 2 of Importing
STEP ONE
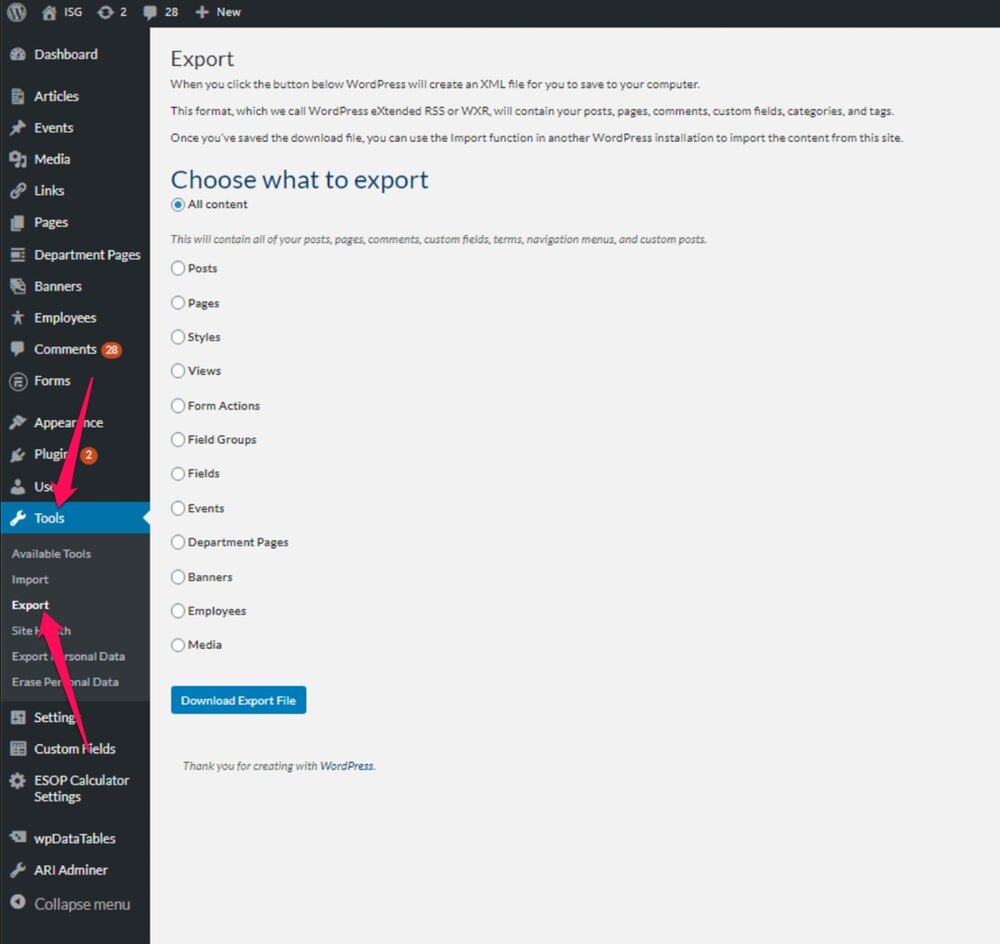
Log into your Wordpress site, navigate to “Tools” and then “Export.”
Just choose “Posts” to export and click “Download export file”
THEN FOLLOW STEPS ONE-FIVE FROM ABOVE!

STEP SIX
When you click on the “Wordpress” option - go to the “Advanced” Tab, select “Standard Wordpress” and then upload the file that you JUST download from Wordpress. Click “Begin Import.”

Step Seven
Once the file is uploaded, it will start importing and you’ll get a “success” message like you did before.

Step Eight
Wait about a minute for your site to load all the posts and then go back to your “pages” section and scroll to the bottom to the “Not Linked” section. You should see the blog now greyed out.

STEP NINE
Hover over the name of the blog and click the gear icon. This will open up the settings. Go to the “enable page” section and click the toggle to enable your blog. Then you can change any of the fields (like if you want to update the name of your blog). Click Save at the top and your blog will be “live” now.

Step Ten
Now you can click into your blog posts page and you should see all your blog posts inside. You may need to do some editing of the posts if the import didn’t catch all the formatting. To do that, you just click the name of the post and it will enter “edit” mode.